
Before you consider polished concrete, you must test the moisture levels in your existing concrete slab. I can't stress this enough. Skipping this step invites trouble, and it can be expensive.
Why? Concrete is porous. It absorbs moisture from the ground. If you seal that moisture in with a polished concrete finish, problems occur. Big problems.
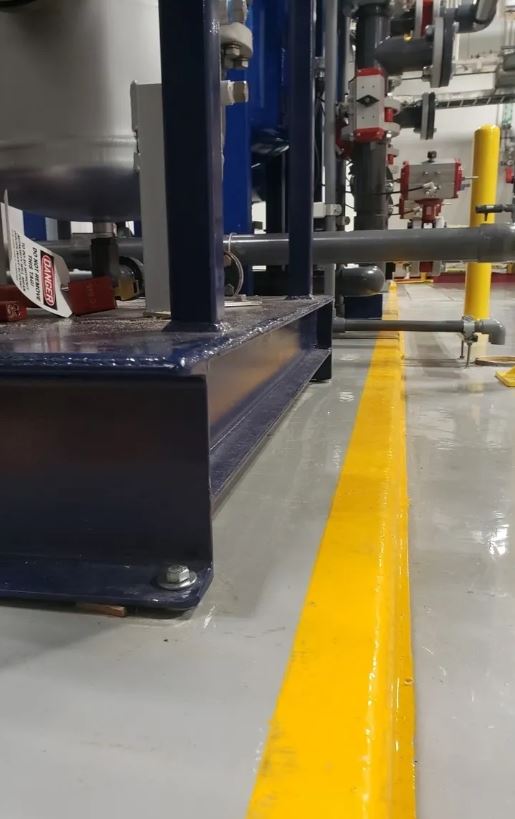
Think bubbling. Unsightly, right? Searching for a reliable Flooring Contractor in Denver business owners rely on for new flooring projects.. Then there's cracking. Nobody wants a cracked concrete floor. What about adhesive failure? That means anything you put on that polished concrete, like coatings or sealers, won't stick. It's a mess.
Too much moisture trapped under a polished surface causes flooring failure. Fixing that failure costs more than doing the moisture test first.
So, how do you test? There are methods, like calcium chloride tests or relative humidity probes. A professional polished concrete contractor will know which method works best for you. They'll check the concrete's moisture and see if it's okay before starting any grinding or polishing. Don't skip this step. It's the foundation for a great polished concrete floor.
Where does the moisture in concrete slabs come from? It comes from several sources. Groundwater is a big cause, especially without a vapor barrier under the slab. The concrete acts like a sponge on a wet surface. Rain can cause issues if the slab is exposed during construction or if leaks occur later. Spills also happen, mostly in commercial spaces. Improper curing is another cause people often miss. If concrete dries too fast when curing, it can create pores and increase its ability to absorb moisture later.
Why is too much moisture a problem? It can cause mold growth. Also, it can weaken the concrete, causing structural damage. For polished concrete, moisture can hurt the flooring. It can cause the sealer to fail, leading to discoloration, bubbling, or delamination. Your polished concrete floor becomes a headache. Managing moisture is important before polishing.
Moisture testing is key before starting polished concrete services. If you skip this, you might face big problems later, like separation or coatings that don't stick. This means the polished concrete could come apart from the slab, or the coatings might not adhere well. Think of it like painting a wet wall—the paint won't stick. The same thing can happen here, but it will be more expensive.
ASTM standards offer guidelines for proper testing. ASTM F2170 (relative humidity testing) and ASTM F1869 (anhydrous calcium chloride testing) are important. ASTM F2170 involves putting probes into the concrete slab to measure the internal relative humidity. ASTM F1869 measures the moisture vapor emission rate from the concrete's surface. Knowing these standards is one thing, but you must know how to use them correctly for a good polished concrete floor.
The anhydrous calcium chloride test (ASTM F1869) is a common method, but it has limits. You put a dish of calcium chloride on the concrete surface under a sealed dome. The calcium chloride takes in moisture from the concrete. How much the calcium chloride gains over time shows the moisture vapor emission rate. But, this test only measures surface moisture. It might not show the moisture content deeper in the slab. So, think about the slab's past and the surrounding conditions.
ASTM F2170 is usually more accurate. This test measures the relative humidity inside the concrete slab. You drill small holes into the concrete and put in probes to measure the humidity. This gives you a better idea of the concrete's overall moisture, not just the surface. It's a more reliable sign of how well polished concrete will do over time, mainly where moisture from the ground could be a problem.
Following these concrete moisture standards isn't just a formality. It helps make sure your polished concrete floor lasts and looks good. If you don't, you could face costly repairs or have to replace the floor. By doing proper moisture testing and following ASTM guidelines, you are setting up a beautiful, lasting polished concrete surface. It's a good move that prevents problems and saves money later.
Before polishing concrete, we must discuss moisture. Concrete is porous. If too much moisture is trapped inside, you risk issues later, like delamination and bubbling. Moisture testing is essential.
There are common ways to test for moisture, and each has quirks. The calcium chloride test, also known as an anhydrous test, is common. You seal off a small area of the concrete with calcium chloride inside. Then, you measure how much moisture it absorbs over a set period, usually 72 hours. It is relatively inexpensive, but it only measures the moisture at the surface. This is not always representative of what is happening deeper down.
Next, relative humidity (RH) probes, also called in-situ probes, exist. These are inserted into drilled holes in the concrete to measure the humidity levels within the slab itself. This gives you a better idea of the overall moisture content. The downside? It is more expensive and takes longer, since you must wait for the probe to equilibrate.
Finally, there are electrical impedance meters, or moisture meters. These are non-destructive. You place them on the surface of the concrete, and they give you a reading based on the electrical conductivity of the material. They are quick and easy to use, but they are also the least accurate. Surface conditions and the presence of salts can affect them.
The best method depends on your budget, timeline, and the specific needs of your project. Whatever you do, do not skip this step!
Let’s discuss moisture testing. Before you polish concrete, you must know how much moisture is inside. Too much moisture will cause your polished concrete to fail.
There are two main ways to test: the Relative Humidity (RH) probe test and the Calcium Chloride test. Let's break down the RH probe test first. You'll need an RH probe kit, a drill, hole saw, and sealant. These kits can be costly. Drill holes into the concrete per the probe maker's directions. This is usually a few inches deep. Let the holes sit for the time the maker says. This is often 24-72 hours. This lets the humidity reach a stable level. Then, put in the probes and note the readings. If the reading is above the maker's level (often around 75% RH), don't polish.
Next, the Calcium Chloride test. This involves putting a pre-weighed dish of calcium chloride on the concrete surface under a sealed dome. After a set time (usually 72 hours), weigh the dish again. The weight gained shows how much moisture the concrete emits. Follow the test kit directions exactly. Don't skimp on prep. Clean the concrete surface well before starting either test. If you don't, contaminants will skew your readings, and you'll have to start over. What's the big risk? If you ignore moisture, expect peeling, bubbling, and wasted money.
You've done your moisture tests. What do the numbers mean for your polished concrete project? It gets a little technical here, but stay with me.
Moisture tests usually report relative humidity (RH) percentage or moisture vapor emission rate (MVER). MVER is pounds of moisture emitted per 1000 square feet over 24 hours. RH tells you how much moisture is in the concrete versus how much it could hold at that temperature. MVER tells you how much moisture is escaping the slab.
Acceptable moisture levels are important for polished concrete. If the concrete is too damp, your sealant won't bond well. That leads to bubbling, peeling, or failure of the polished surface. No one wants that!
What's "acceptable?" You're often looking for an RH below 75% or an MVER below 3 pounds. This is just a guide. The concrete mix, the sealant, and the manufacturer's advice can all change those numbers. Always check with your concrete supplier and sealant maker for their needs. Ignoring those specs can cause problems.
Quality Verification Checklist for Industrial-Grade Polished Concrete Floors
You have a concrete slab with high moisture levels. Now what? You can't ignore it. Excess moisture can ruin your polished concrete finish. Bubbling, delamination, and adhesive failure can happen. No one wants that.
Consider moisture vapor retarders. These barriers install *under* the slab *before* you pour the concrete. If you have an existing slab, this won't work. What's next?
For existing slabs, try chemical treatments. These enter the concrete and react with the free lime. This creates a less permeable surface. They can work, but it depends on the moisture levels and the product. They usually cost less than an overlay. Speaking of overlays...
Overlays with a moisture barrier are another option. You add a layer on top of the old one. This isolates it from the moisture. This can work for tough slabs, but it increases cost and floor thickness.
What about dehumidification? It can lower surface moisture, but it doesn't fix moisture from within the slab. Use it with other methods, especially when polishing.
Also, use concrete sealers. They don't stop all moisture, but they can lower the rate and protect the polished surface. Pick a breathable sealer. This lets some moisture escape without hurting the finish.
Moisture testing matters, but doing it right is key. A certified and experienced concrete testing professional can help. You could try a do-it-yourself approach, but will you get good results? Accuracy matters.
A certified tester offers expertise and uses calibrated equipment. They know how to read results and understand concrete mixes and conditions. They give you a reliable idea of moisture levels. Think of it like this: you would take a weird engine noise to a mechanic, right? It's the same here.
A good concrete testing professional, especially one who knows flooring work in Denver, offers more than just a number. They will make recommendations. They will tell you if you need moisture help and how to proceed. This ensures your polished concrete floor won't fail later. It's an investment in your floor's future.
Don't skimp on this. Find a good moisture testing services provider. It’s worth the money to get it done right.
Relative humidity (RH) testing is crucial for polished concrete. It measures moisture vapor in the air directly above the concrete slab surface. High RH levels can indicate potential bonding issues, leading to coating or adhesive failures after the polished concrete is installed.
Concrete needs adequate drying time before polished concrete installation. The drying time depends on factors like slab thickness, ambient temperature, and humidity levels. Rushing the drying process can trap moisture, leading to problems like blistering, delamination, or adhesive failure.
The calcium chloride test, also known as the moisture dome test, measures the amount of moisture emitting from the concrete slab over a 72-hour period. This test helps determine the moisture vapor emission rate (MVER). Exceeding the manufacturer's recommended MVER for the flooring system requires mitigation.
Let’s talk money. You might think, "Moisture testing? Another expense!" Skipping this step can be more expensive in the long run, especially with polished concrete.
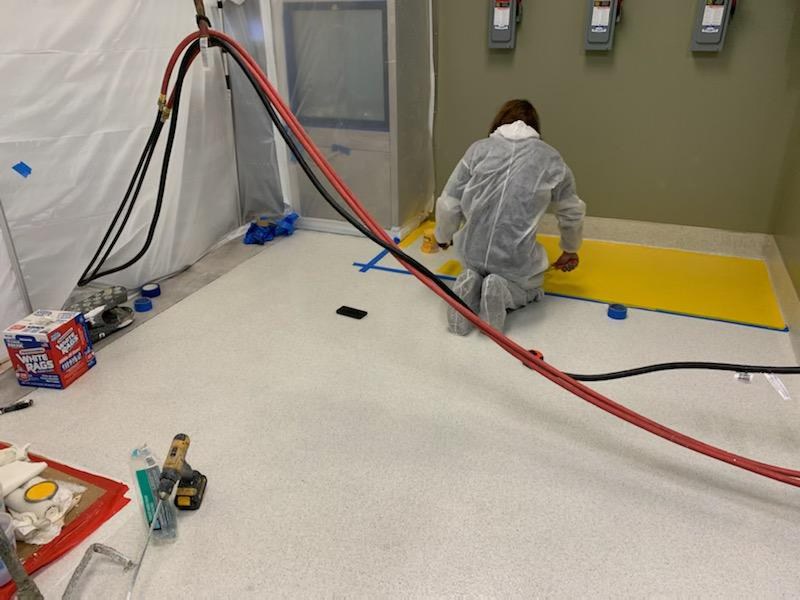
Consider this. You invest in a durable polished concrete floor. The work involves grinding, honing, and densifying the existing concrete. The goal is a showroom shine. A sealer controls dust and boosts the shine. If moisture is trapped underneath, all that work is at risk.
What if you don't test and fix moisture issues beforehand? Moisture can cause the polished concrete to fail. This means bubbling, cracking, and delamination. Concrete repair costs can be high. Flooring replacement costs even more. You might have to remove the entire floor and start over.
Moisture testing is a smaller investment. It gives you data to make smart choices. If there's a moisture problem, it can be fixed *before* the polished concrete is installed. Fixing it might mean a moisture barrier or other steps. This adds to the initial cost, but it's less than a complete floor replacement.
The moisture testing return is big. You protect your polished concrete investment and ensure it lasts. Think of it as floor insurance. It's worth it for peace of mind and a floor that looks great. Don't skimp on moisture testing. It's the smart choice.
You likely have questions about moisture testing. It's a common concern, and it should be. Moisture can cause problems for polished concrete if you don't address it early.
A frequent question is, "How often do I need to test for moisture?" Test before any concrete polishing begins. That means before grinding, honing, densifying, etc. If humidity or temperature changes a lot, like between seasons, another test might be a good idea.
How long does it take? You'll usually get results from the lab in a day or two. It’s not instant, but it’s better than installing a floor that fails later.
What about liability? This is important. If you ignore moisture levels and flooring problems like bubbling or delamination happen, your flooring warranty could be voided. You're responsible for repairs or replacement as the property owner.
We take moisture testing seriously because we’ve seen what happens when it's skipped. It’s a small investment that can save you money and stress. It's a key step in making sure your polished concrete floors look great and last.
Moisture testing is critical for polished concrete. Don't skip it. If you trap too much moisture under a sealed concrete floor, you risk failure. The floor can crack, the sealer can fail, and fixes cost more than initial testing.
So, what does moisture testing involve? A flooring contractor will use different methods. Calcium chloride tests are common. They measure moisture vapor emitting from the concrete. Relative humidity probes are another option. These go into the concrete for a reading.
When should you test? Always before polishing and sealing. If you're dealing with a slab on grade (in contact with the ground) or an older slab, testing matters even more.
If tests show high moisture, don't worry. There are ways to handle it. You might apply a moisture vapor barrier before polishing. Or, you might improve ventilation to let the concrete dry out naturally.
A flooring contractor earns their keep here. They know how to read test results, suggest the right steps, and ensure your polished concrete floor lasts for years without problems. It's an investment in lasting flooring that pays off. Starting right is key to polished concrete success.